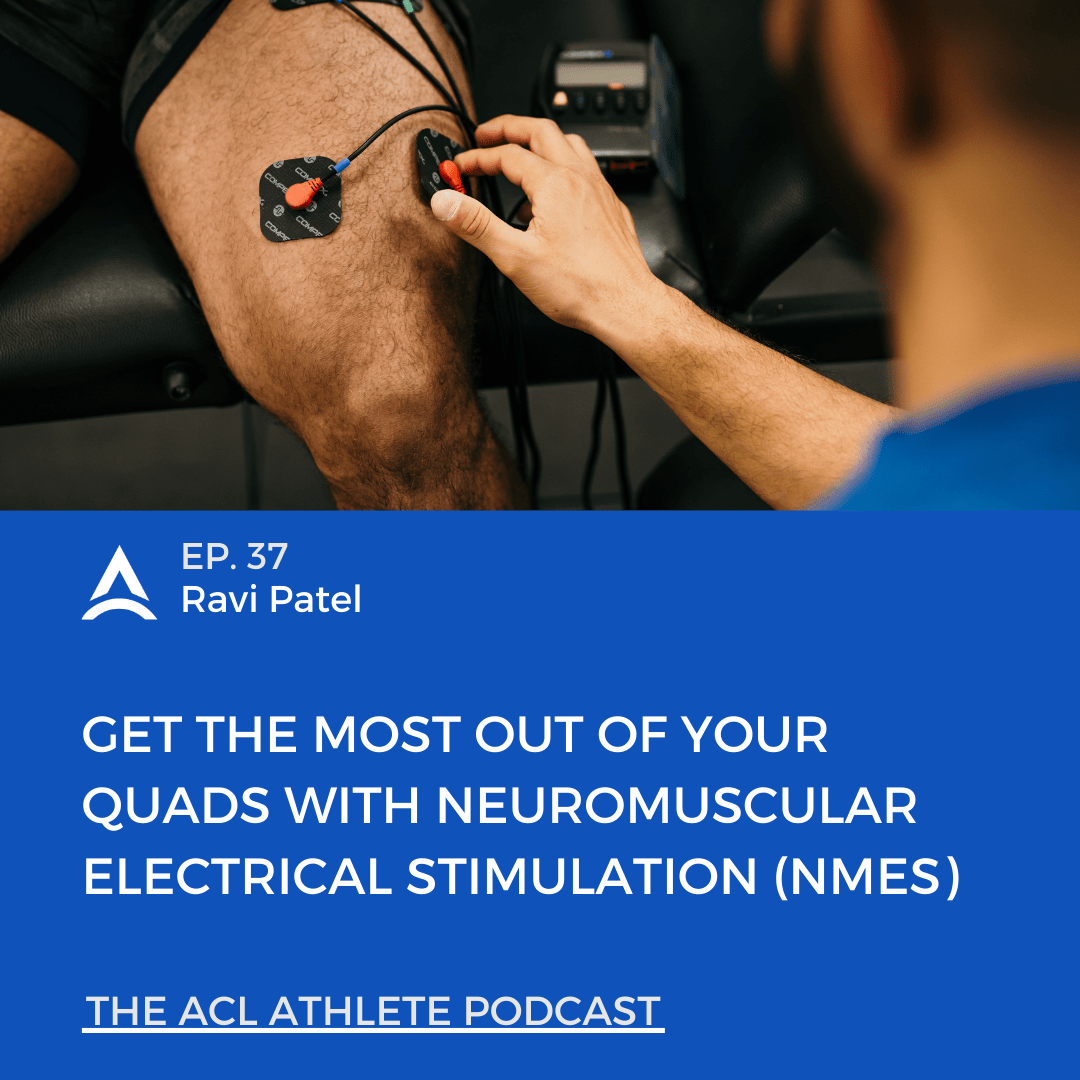
Show Notes:
In this episode, we cover what Neuromuscular Electrical Stimulation (NMES).
- Why it’s important and why you should use it in your ACL rehab
- When to use it
- How to use it to improve your quad strength
- The science and research behind its use. This is an important one for anyone, especially ACL athletes early in their rehab process.
What’s up guys, and welcome back to another episode on the ACL Athlete Podcast. Today is episode number 37, and we are talking about NMES (Neuromuscular Electrical Stimulation) for your quads in ACL rehab. And before we dive into this, I just want to put a disclaimer that you need to consult with your medical provider, PT, whoever it is you’re working with before using NMES. And today is purely just educational. What I want you to do is to make sure it’s right for your specific case. And hopefully, it applies so that way you can get the most out of your quad and out of your ACL rehab.
What is NMES (Neuromuscular Electrical Stimulation)? So exactly kind of what it says, neuromuscular, we’re trying to impact the nerves and the muscle unit. For this example, we’re talking about the quads and the femoral nerve, and we are using electrical stimulation to help kick that thing on to help it fire. And what you typically see is this early in rehab and it is these sticky gel pads that you’ll see some on the thighs and the muscle is pulsating. It’ll pulsate and then it’ll go to a strong contraction, and then it’ll relax and then you’ll go through a sequence of these different contracts, relax to get the quad to fire.
It’s all safe as long as you are abiding by the right parameters and that you’ve consulted with a medical provider to make sure that this is right. But I see this get missed all the time early in ACL rehab, and it’s such a huge benefit for athletes to be able to utilize NMES. And it’s tough because it really depends on if the physical therapist that you’re working with has the equipment and is able to utilize it. But guess what? There are affordable options that you can use in your own home, so don’t just be limited by what you have at the clinic. Make sure that you’re using it appropriately. And as you see as I go through this today, and tell you about it, you’re going to be like, “Well, this is something that I need to add to my regimen.” Obviously, depending on where you’re at in the process.
Why should we use it? And I’m going to start with stating the quadriceps are the most important muscle in your ACL rehab, process, recovery, all the way through. It’s the one that we see the biggest deficits that translate over to functional outcomes, performances, pain, arthritis, all of these things down the road. There is a list of factors, but quadriceps weakness is one of the biggest ones up there.
And if we try to reverse engineer, well, how can we maximize this process as soon as the ACL injury happens, and then also after surgery, then we can make sure that your outcomes are as best as possible. And that includes having NMES in this process, especially early. And the quadriceps is at its weakest right after surgery due to just the deconditioning; it’s hard to activate. Well, you just had surgery, so there’s been trauma to the knee. Usually, this is accompanied by a nerve block that’s done, either at the femoral nerve or the adductor nerve. There’s pain, there’s swelling, and there is this term that’s called arthrogenic muscle inhibition, which is a very complicated mess of all these combinations. You’ll hear it referred to as AMI.
And one of the things that is impacted are the neural pathways and the activation. And this can go all the way up towards the brain to the spinal cord, into those nerves that branch out to help activate your quad muscle. These are all being impacted. One of our goals early on in ACL rehab as you’ve heard me say in the past, is we got to get that quad activated and contracting by your own nature, and that’s what’s most important. We call that volitional quad contraction. You’re doing it on your own volition and we need that to happen. NMES has been shown to help with this and improve the activation of the quads and could be used to help augment quadricep strengthening work that we’re doing in a positive way and has been shown to improve outcomes for quadriceps strength, self-reported function, and functional performance down the road.
And this is from research studies. A really good one is the effects of neuromuscular electrical stimulation after anterior cruciate ligament reconstruction on quadriceps strength function in patient’s oriented outcomes, a systematic review. That’s a lot of words. But this is a systematic review by Kim in 2010, that shows a very positive outcome with using NMES in your ACL to help benefit your quads. And one of the giants in research, Lynn Snyder-Mackler, she’s done some research dating back to 1994, 1995, where [?] was beneficial for the studies that she did and we’ve seen that repeatedly. And these were done so early, 1994, 1995. We’ve known this for 20-plus years now. So this should be something that is just normal and a part of the process, and we should integrate it.
Now, that’s not to say every single person has to do it or needs to. We could still get by without doing it, but it’s just an added benefit to this process. Some other articles just for you to be able to look at Taradaj 2013 (hopefully I said that right). Hauger, 2017 with Mike Ryman on that, and then Toth in 2020. They all showed different populations and the benefits of NMES compared to control groups. And what NMES does, is it directly recruits the motor neurons. We’re talking about the motor part of your femoral nerve to produce better quadriceps contraction and better strength gains than just doing voluntary exercises alone. And this has led to better functional outcomes with activation and strength. And that was a study done with Palmieri-Smith 2008. There are a lot of studies that support this.
Now as time goes on, sure, this could be refuted. But as of the collective body of research, it seems weird that we would not use this to help with our ACL rehab process. And if I’m even just using my own anecdote, whenever I used NMES for my ACL rehabs, it was a huge game changer. I had difficulty activating my quads and this NMES helped me to put that mind-muscle type connection and to be able to help fire. And it helps to also visually see it. And then you’re trying to work really hard to hit that quad set or whatever movement you’re doing to be able to continue to build that neural pathway back up. That’s something that I remember was very beneficial, and I use it with both of mine and I loved it. And now working with ACL athletes, whether it’s remote or whether it’s in person, it’s one of the things that I recommend, unless there might be some sort of contraindication as to why they shouldn’t do it. But it’s a very rare instance where you’re not supposed to be doing it. This is something that I like to personally pair up with blood flow restriction training early on in the process to reduce that muscle atrophy and to help build that quad back and to feel that thing kick on again.
Now, let’s get into how should we use it. And again, make sure you’re consulting with someone who is a medical provider to know how to utilize it in your specific case. But the parameters, so these can vary a lot based on the device, and your own tolerance if you have the option to change these settings. But here is just a general overview. The wavelength can be anywhere from 300 to 1,000 microseconds. The frequency can be 50 hertz. The ramp-up time is two seconds. The on-time is 10 to 15 seconds. The off-time is 50 seconds. And typically the total time that you will do that work is 10 minutes. The intensity itself, so the dial that you’ll turn up, is that max tolerable? You want this as strong and as high as possible, but you don’t want to be sitting there in misery or a ton of pain. But we want to be able to see what we call a “Titanic” contraction. We want it to be visible and we can hold it, and this is a way to gauge that intensity. And sometimes you just need to build into it.
And in terms of the pad size, the Easton pad size, and placement; one mistake you’ll see is that they’re too small. You’ll use these small little squares and they don’t cover as much surface area, we don’t get to contact as much of the quad as we want. And therefore, the impulse would not be nearly as strong as compared to getting those bigger rectangular ones or the oval ones that cover up a little bit more surface area so we can get that good contraction and impulse to make sure we are utilizing as much of the quad as possible.
In terms of pad placement location, you’re going to have one at the VMO (vastus medialis oblique) so that’s where that teardrop is, just think on the inside of the knee. And then on the other end, you’re going to have one closer up towards the hip. Think about where your pocket typically is, and that’s going to be on your vastus lateralis. You still need to make sure that it’s on your quads and you don’t hit your TFL or your hip flexor, or you’re too far below the knee or your adductor. This is where pad placement is important to make sure you have the entire muscle belly of the quad covered from as far down near the VMO to the vastus lateralis up near the hip. But make sure they’re both on the quads.
In terms of position with what you’re doing, most times, you’ll see this in supine or laying on your back with things like quad sets, which is gray early on because you know your knee is limited and you can’t really do that much. Having a straight leg, you’re firing that quad with quad sets and having the NMES on there. And then you can build towards, depending on if you’re weight-bearing or where you’re at in the process early, you can do it with TKEs (terminal knee extensions) or short arc quads. I like to do it with TKEs because we’re getting into the gait pattern, so then we can start working on that terminal knee extension where we have heel contact in our walking pattern and we’re trying to fire up the quads and get that extension back. I like that position a lot to build towards once it’s tolerated.
There are a number of different exercises like that where we could isolate the quad. But one that I think can get missed that is actually a really good position that we tried to train a lot actually. And where the isokinetic testing’s done and isometric testing, but doing this in a 60-degree to 90-degree knee extension position. Imagine you’re sitting in a leg extension machine, let’s say, you’re able to just max out the weight on it. So let’s say, it’s 200 or 300, that way is an immovable force. And you can also do it with a strap that’s hooked to a bench or even something where you’re seated up against the wall and you’re kicking into the wall with your foot. Something that’s immovable essentially, and you want to aim for that 60 degrees. And you can work in various positions depending on the tolerance of your knee and the flexion range and comfort you’re in. But try doing it this way. You’re seated and you are kicking into the wall and/or the knee extension machine at 60 degrees and you’re using the NMES for that 10 to 15 seconds on and then resting.
This is a great position because this is also where we produce our max peak torque of our knee and our quadriceps. It’s a good place to train for this position once you can tolerate it with the NMES and with producing force. And this will come back also to the type of tendon you have and the graft and all the pain and discomfort you’ll have in this process. Make sure you’re gauging that. Typically, starting quad sets into maybe TKEs or short arc quads. But I get my athletes pretty early into the knee extension, isometric at 90 to 60 degrees with this.
Now, you’re probably wondering, when to start it and how often in a week do we do it? This is going to vary a lot and it’s going to depend on your specific case. But some research starts at three days post-op, and they do it anywhere from 4 to 12 weeks on average. What you will see is six weeks of duration. Some will do it three times per week, some say do it every day, and some did it three times per day. There’s a lot of variation in terms of the different protocols to use it.
My personal recommendation is to do it early and do it often. Start it as early as you can, post-op or post-injury. See how the knee tolerates it by doing it one time. See how it feels the next day. And if it tolerates it well, then maybe you can bump it to every day. And depending on your specific case, it can’t even be multiple times a day. But as a rule of thumb, at least one time per day should be enough for you to be able to get the most out of this. And remember, this is a stress recovery balance process. You don’t want to just crush it all the time with NMES or neuromuscular electrical stimulation and just constantly crush it. And you want to make sure that you balance the recovery process with this. So think about it as doing it early and often. Start off with one time, see how your knee responds. And if you get a good response from it, then just continue to weave it into the process. Most importantly, work with your PT and see what they personally recommend. I would say even three times a week is a very effective dose to get the most out of NMES.
Now, you’re probably wondering how the heck do I get my hands on a device? And now there are some brands that can get pretty expensive and they’re fancy and they have the name like Compex or PowerDot. I don’t have any financial obligations with any of these companies, but those are the ones that you’ll hear. In all honesty, a cheap and effective unit on Amazon for about 50 bucks is the Balego, an EMS, digital neuromuscular NMES stimulator. That one’s really great. I’ve used it myself. I have athletes who are using it and it gets the job done. It’s effective and it also doesn’t break the bank. And that is something that you can check out. I’ll even put a link in the show notes.
Again, no financial affiliation here. Just want you guys to have an option if you’re going through this process. I know it’s hard to filter through to be able to figure that out. So I’ll put that link in the show notes, but just make sure that it is an NMES device and not a TENS unit. There will be cheaper ones that are just for pain modulation, which are TENS units. We want NMES because it can put in a certain burst, as well as a certain current that we need to get the most out of your quads. All right, so big takeaway from today, if you are early in your process or you have difficulty firing your quad, get some NMES going. Do it early and do it often.
All right guys, that does it for today. Thank you all so much for listening. This is your host, Ravi Patel, signing off.
Subscribe and leave The ACL Podcast a review – this helps us spread the word and continue to reach more ACLers, healthcare professionals, and more. The goal is to redefine ACL rehab and elevate the standard of care.
Resources:
- Check out our free ebooks on our Resources page
- Sign up for The ACL Athlete – VALUE Newsletter – an exclusive newsletter packed with value – ACL advice, go-to exercises, ACL research reviews, athlete wins, frameworks we use, mindset coaching, blog articles, podcast episodes, and pre-launch access to some exciting projects we have lined up
- 1-on-1 Remote ACL Coaching – Objective testing. An individualized game plan. Endless support and guidance. From anywhere in the world.
- More podcasts? Check out our archives
Connect: